|
Making Dipped
Candles
Candle-making is a very
old and versatile craft, and one which is peculiarly satisfactory. The ingredients
needed to make dipped candles can be quite easily obtained from a good art
shop, and are not expensive. The dipping process itself is immensely
enjoyable, and the pleasure of burning your own candles is something you
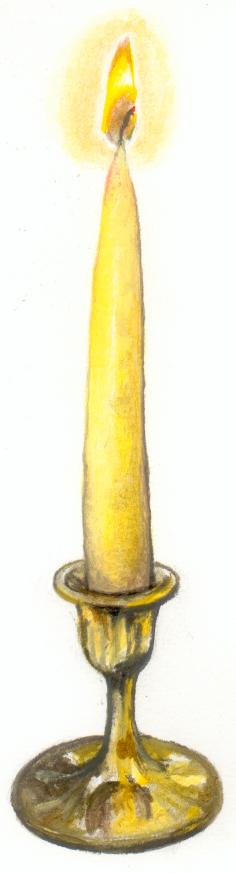
will discover once you have finished. Candles create such a beautiful,
soft, golden light and are perfect in Winter when the days are so short.
Melting the wax takes a
long time, so I advise setting an afternoon aside for doing this.
|
You will need:
2 plastic bottles
wire
a large pan
approx 1½ blocks paraffin wax
dye
wick
|
 |
- Cut the tops off the two
plastic bottles, fill one with water, and set aside. Take
the other and wire it securely inside a large pan, so that
it can’t move. Fill the pan about one third full of water,
and heat it up.
- Chop the wax into chunks and
gradually add to the plastic bottle, putting in a little
more whenever the wax has started to melt. Continue this
process until the bottle is pretty much full of melted wax -
this can take a while, and the wax can be stirred around to
hasten the process, with a long utensil such as a chopstick.
The water in the pan shouldn’t be let to boil too
fiercely, but remain on a gentle simmer throughout.
- Now is the time to add the
dye - yellow makes very attractive, authentic-looking
candles. The colour can be tested by spooning a little onto
a plate and letting it cool.
- When the wax is fully melted,
cut yourself a 30 cm length of wick, turn off the heat and
dip it into the wax. Quickly draw out the wick and dip it
into the water which you set aside earlier. Draw out the
wick, which will be bent, and straighten it with your hands.
- Keep dipping the wick
alternatively into the wax and water. At first the wick will
keep on kinking, but make sure to straighten it each time,
until it becomes brittle.
- When the candle has reached
the desired thickness, carefully lay it aside and dip
another, following the same process. After a while the wax
in the bottle will start to cool, and the water should be
heated up again - dipping can continue throughout.
|
| Tip
1: For added speed, two candles can be dipped at once, by
using a length of wick twice as long and dipping the two ends
together; however, care should be taken that they don’t stick
together.
Tip 2: For a
higher-quality candle a little beeswax can be added at the
melting stage if desired. |
|
| Tip 3: To
make a twisted candle, roll out the candle immediately after
finishing it, on a smooth surface. You can then twist the
flattened candle into a corkscrew shape. |

|
|
 |